WebAssembly Experiments
NOTE to future visitors: the steps described here to get WebAssembly working will very likely be outdated soon, check the emscripten documentation how it works in your time period (hopefully it will be much simpler by then)
UPDATE 31-Oct-2016 Looks like the big day has come: the complicated steps in this blogpost are no longer necessary, the emscripten SDK now includes everything to build WebAssembly executables (at least the bleeding edge ‘incoming’ version). The easiest way is to build with -s WASM=1, this works out of the box but contains a pretty big Javascript polyfill for the case that WebAssembly is not supported by the browser. To avoid this, add the option -s BINARYEN_METHOD=”native-wasm”.
Details are on the new WebAssembly webpage, and on the emscripten Wiki.
For fips projects, for instance Oryol, just build with
> ./fips build wasm-ninja-release'
# or
> ./fips build wasm-make-release'
Following is the original blog post, nothing to see here anymore :)
Two days ago, the Mozilla, Google and Microsoft browser teams dropped the bomb by not only announcing experimental WebAssembly support in their browsers, but (at least in Firefox and Chrome), making it also available to the ‘general public’ in the bleeding-edge browser builds for testing.
I’ve added experimental support for WebAssembly code generation to Oryol and fips, and the Oryol Sample Page now has WebAssembly versions of the samples next to the asm.js and PNaCl versions.
To test these you need to get the latest Firefox Nightly and/or latest Chrome Canary, and you need to manually enable WebAssembly support.
- in Firefox Nightly: go to about:config and set the javascript.options.wasm option to ‘true’
- in Chrome Canary: go to chrome://flags#enable-webassembly and enable the feature there
Then test if it works on the Sample Page by clicking on the wasm labels.
But this post is about building WebAssembly code, not just looking at it :)
Getting Started
Currently, building code for WebAssembly requires a number of manual steps and a lot of patience for the first setup (depending on internet and computer speed: up to a couple of hours).
Once the WebAssembly binary format has settled down emscripten will get proper support to build wasm out of the box, until then this guide (or rather ‘recipe’) hopefully helps to ease the path.
I’ll describe how to build with emscripten+binaryen as opposed to the official LLVM wasm backend (which AFAIK is not ready yet). Emscripten first compiles C/C++ to asm.js, and then in a post-link-step, converts this asm.js code to binary WebAssembly.
Also, I’ll use Oryol as code base, since this is already running on asm.js, and fips as build system (fips is just a bunch of python scripts around cmake), so I’ll skip a lot of details concerning basic emscripten compilation, but I’ll try to explain all the specific details that differ between asm.js and WebAssembly build targets.
And finally, I’ll start from scratch with an empty directory and everything will happen inside this directory, at the end you can simply delete this directory and your machine will (nearly) be in the same state it was before, with the exception of a few tools installed through standard package managers.
Oh, and I will do everything on OSX, with brew as package manager. All steps should translate easily to Linux, but on Windows you’re on your own, sorry (it should work on Windows, but very likely involves much more head-scratching and cursing).
Here’s a list of the required steps:
- get Oryol and setup the emscripten SDK
- test asm.js compilation
- get and build binaryen
- get and build the SpiderMonkey Javascript engine
- do some minor modifications to the .emscripten config file
- test WebAssembly compilation
First check whether a few basic tools are in the path:
> brew --version
Homebrew 0.9.5 (git revision 4251e; last commit 2016-03-15)
> python --version
Python 2.7.11
> cmake --version
cmake version 3.5.0
> make
make: *** No targets...
The latest python 2.x and cmake versions can be installed via brew, make comes with the Xcode command line tools.
Alright, let’s go:
1. Get Oryol and setup the emscripten SDK
As promised, everything happens in a separate directory. I’m cloning Oryol with a limited history depth to save some time. The emscripten SDK setup is automated through fips:
> mkdir ~/scratch
> cd ~/scratch
> git clone --depth 1 https://github.com/floooh/oryol
> cd oryol
> ./fips setup emscripten
...
That little innocent-looking ‘./fips setup emscripten’ at the end will take a little while since it pulls down and compiles an entire LLVM toolchain.
2. Test asm.js compilation
Finished? Alright, let’s try compile and running one of the samples for asm.js:
> cd ~/scratch/oryol
> ./fips set config emsc-make-release
> ./fips make Shapes
> ./fips run Shapes
The last command starts a local web server and the default web browser and you should see something like this (you may need to refresh if the browser starts too fast or the web server too slow):
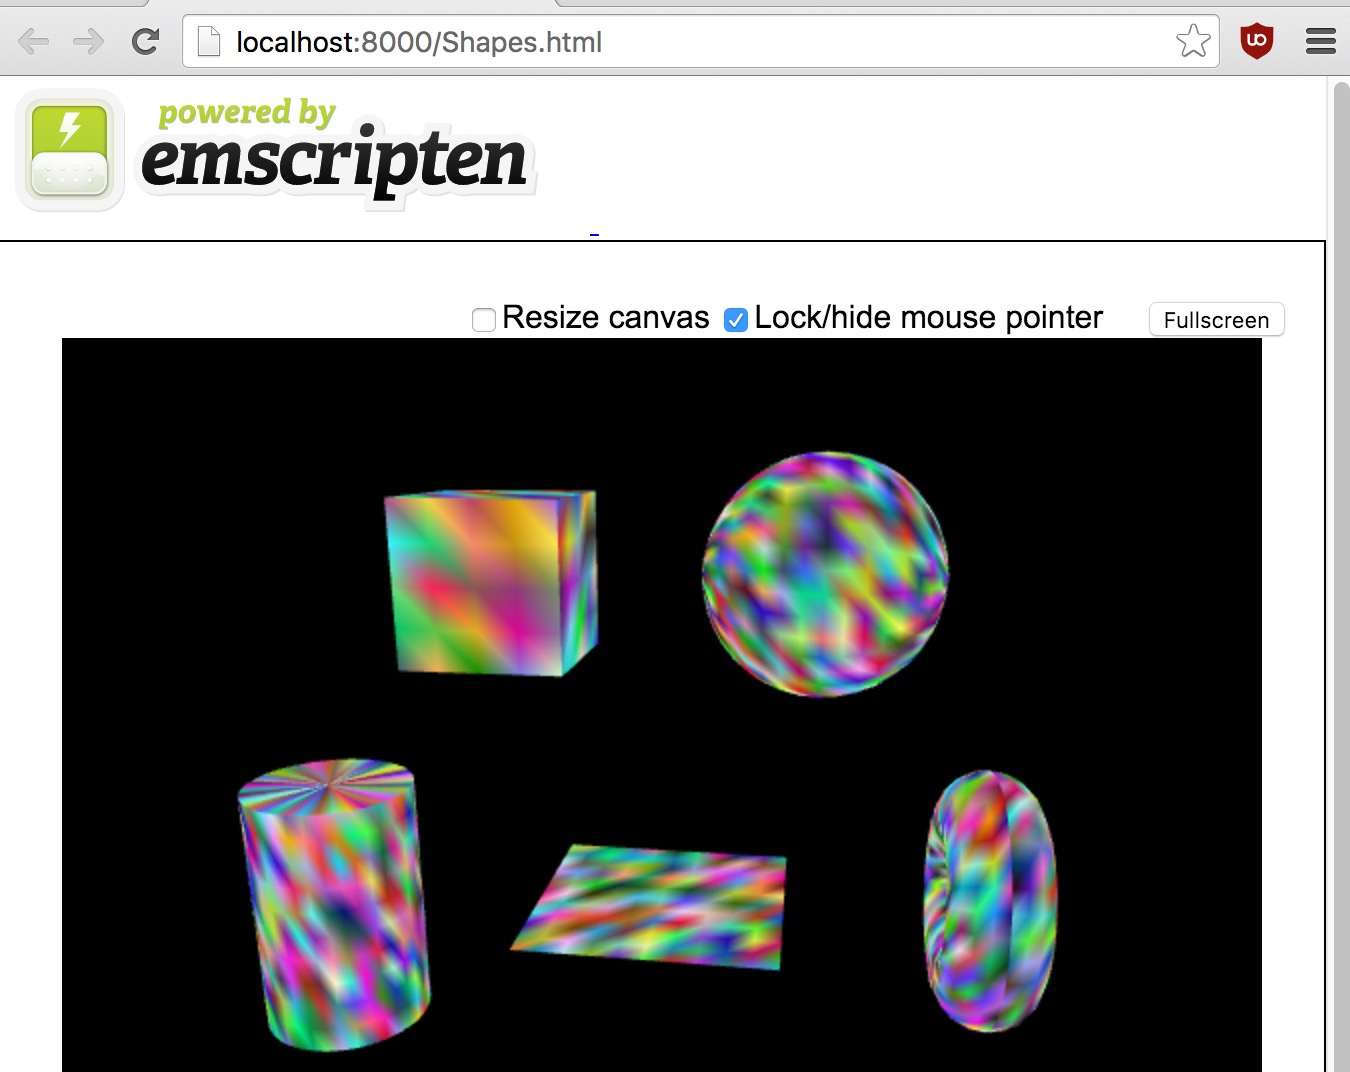
Hit Ctrl-C to in the terminal to leave the web server.
3. Get and build binaryen
Binaryen is a small plumbing toolkit which (among other things) can convert asm.js to WebAssembly.
> cd ~/scratch
> git clone https://github.com/WebAssembly/binaryen.git
> cd binaryen
> cmake .
> make
We’ll just leave that here for a little while and compile Spidermonkey next:
4. Get and build Spidermonkey
Ok, this will take a looong time, first we need to get the entire bleeding-edge Firefox source, and then build the contained Javascript engine (called Spidermonkey).
This requires mercurial (hg), so install that first, then clone the source repo:
> brew install mercurial
> cd ~/scratch
> hg clone https://hg.mozilla.org/integration/mozilla-inbound/ inbound
Next a ‘bootstrap’ python script is downloaded which installs any further required tools via brew:
> cd ~/scratch/inbound
> curl https://hg.mozilla.org/mozilla-central/raw-file/default/python/mozboot/bin/bootstrap.py > bootstrap.py
> python bootstrap.py
That bootstrap.py script will ask what version of Firefox you want to build, select 1. Firefox for Desktop.
Now, instead of building the entire Firefox, we just build the JS engine:
> cd ~/scratch/inbound/js/src
> autoconf213
> mkdir _build
> cd _build
> ../configure
> make
...
Compiling will also take a little while…
When it’s over there will be a ‘js’ executable in the dist/bin/ subdirectory. But we’ll leave that also there for later…
5. Modify .emscripten config file
Ok the long and tedious part is done, the only thing that’s left now is to tell emscripten where it can find the binaryen tools and the Spidermonkey JS engine.
The emscripten config file used by fips is located here:
~/scratch/fips-sdks/osx/emsdk_portable/.emscripten
On Linux, replace the ‘osx’ with ‘linux’. Load the file into a text editor, find the SPIDERMONKEY_ENGINE entry, and change that to the path where the previously compiled Spidermonkey ‘js’ executable is located.
Note that this must be an absolute path, for instance on my machine it looks like this:
SPIDERMONKEY_ENGINE = '/Users/floh/scratch/inbound/js/src/_build/dist/bin/js'
Next, add a new entry to the end named BINARYEN_ROOT with the path to the binaryen directory, on my machine this is:
BINARYEN_ROOT = '/Users/floh/scratch/binaryen'
Don’t forget to replace the ‘floh’ in both places with your own username :)
6. Test WebAssembly Compilation
Ready for testing! Oryol has a new fips build config called ‘wasm-make-release’ (under ~/scratch/oryol/fips-configs). This build config switches a cmake option on which in turn adds a few more flags to the emscripten linker step, namely:
-s BINARYEN=1
-s 'BINARYEN_METHOD="native-wasm"'
-s 'BINARYEN_SCRIPTS="spidermonkify.py"'
-s GLOBAL_BASE=1000
-s ALIASING_FUNCTION_POINTERS=0
This tells emscripten to run the build result through binaryen, and a ‘plugin-script’ called spidermonkify.py (that’s where the Spidermonkey JS engine comes in), and the BINARYEN_METHOD=”native-wasm” means it should only create a wasm file that can be loaded directly by browsers, without any fallback-options if WebAssembly is not supported.
The last 2 options deal with code-generation details which are required for WebAssembly, more info here: https://github.com/WebAssembly/binaryen.
Ok, so let’s finally try to build some WebAssembly:
> cd ~/scratch/oryol
> ./fips set config wasm-make-release
> ./fips make Shapes
Now there’s one last manual step required to patch up the required HTML file depending on whether this bug has already been fixed:
Open the file
~/scratch/fips-deploy/oryol/wasm-make-release/Shapes.html
And search for Shapes.wasm. If there’s an absolute filesystem path in front of it, remove the directory part so that the line looks like this:
xhr.open('GET', 'Shapes.wasm', true);
Save and test (don’t forget to test in Chrome Canary or Firefox Nightly, ‘./fips run’ will run the default browser, which is most likely not Canary or Nightly):
> cd ~/scratch/oryol
> ./fips run Shapes
If everything works as intended, the result should look exactly as the asm.js version. You can check the web server output that WebAssembly files are loaded, e.g.:
> ./fips run Shapes
=== run 'Shapes' (config: wasm-make-release, project: oryol):
serving on http://localhost:8000 (Ctrl-C to quit)
...
127.0.0.1 - - [17/Mar/2016 21:29:12] "GET /Shapes.wasm HTTP/1.1" 200 -
127.0.0.1 - - [17/Mar/2016 21:29:12] "GET /Shapes.js HTTP/1.1" 200 -
127.0.0.1 - - [17/Mar/2016 21:29:15] "GET /Shapes.wasm.mappedGlobals HTTP/1.1" 200 -
...
Don’t be confused about that one Javascript file, this contains manually written glue code (not asm.js) to talk to HTML5 APIs. All the former asm.js code has been translated into the .wasm file.
And that’s it :) Hopefully it won’t be too long until WebAssembly support is properly integrated into LLVM and emscripten so that those manual setup steps will no longer be necessary!